
The Ultimate Biscuit Baking Checklist: From Dough to Oven
A biscuit rarely fails because the recipe was wrong. It fails because the butter was too warm, or the flour was scooped instead of weighed, or the oven said 180°C while actually sitting closer to 200°C. None of those are dramatic mistakes. They are small, invisible ones, and they add up in the same batch. What follows is the checklist worth taping inside a cupboard door: the ingredients to prep, the tools that genuinely earn their space, the temperatures nobody checks, and the timing cues that tell you more than a clock ever will. Print it, mark it up, and let it take the guesswork out of the next tray.
Start With a Weighed, Room-Ready Ingredient Line
Weigh, don't scoop
Flour is the single biggest variable in any biscuit dough. A cup scooped straight from the bag can hold far more flour than one spooned in and leveled, and that difference is enough to turn a tender shortbread into something that crumbles like dry plaster. A basic digital scale settles the argument in one move. As a working reference, most recipes assume roughly 125 g per cup of all-purpose flour — but if your recipe gives weights, trust the weights every time.
Get the butter right — and "right" changes
For creamed doughs, butter should be soft enough to leave a dent when you press it, but not shiny or greasy at the edges. If it is sliding around the bowl, give it ten minutes in the fridge. For rubbed-in, laminated or cut-out doughs, cold butter is the point: it creates steam pockets and flaky layers. Read the method before you take the butter out of the fridge, not after.
Test your leaveners
Baking powder and soda lose strength over time. A quick test: stir half a teaspoon into a little hot water. It should fizz with some enthusiasm. A weak, lazy bubble means your rise will be weak too.
The ingredient pass:
- Flour weighed, not scooped, and aerated if it has been sitting packed in the bag
- Butter at the temperature the method actually calls for
- Sugar — caster or fine for creaming, soft brown for chew and depth
- Eggs at room temperature, so they emulsify instead of curdling the mix
- Leaveners tested within the last few months
- Fine salt measured, not guessed; flaky salt belongs on top, not in the dough
- Extracts, zest and spices measured out before mixing starts
Tools: A Short, Honest List
You do not need much, but the few things you do need should be good. Two identical rimmed baking sheets matter more than they sound — biscuits baked on a thin, dark tray brown far faster underneath than ones on a heavy, light-coloured sheet. An oven thermometer is the cheapest upgrade in baking, because most home ovens run hot or cold by a margin big enough to ruin a delicate biscuit.
- Digital scale
- Two heavy, light-coloured baking sheets
- Parchment or a silicone mat
- Wire cooling rack
- Rolling pin, plus two chopsticks or rolling guides for even thickness
- Cookie scoop or measuring spoons for uniform portions
- Oven thermometer
- Timer you will actually hear
- Bench scraper and a fine sieve for dusting
Temperature: The Variable Nobody Checks
Oven temperature
Preheat for a full 15 to 20 minutes. Most ovens overshoot their target and then settle back down, so pulling the trigger too early means the first tray bakes hotter than the second. Place the thermometer on the middle rack and wait for it to read your target, not for the little light to switch off. If your recipe was written for a conventional oven and you are using a fan-forced one, drop the temperature by about 15 to 20°C. Bake one sheet at a time, in the middle. Two trays at once means uneven browning and a lot of rotating.
Dough temperature
Cut-out doughs benefit from a rest in the fridge — 30 minutes at minimum, overnight is better. Chilling firms the butter, which limits spread and keeps edges sharp. If the dough softens while you are rolling and cutting, slide the whole sheet into the fridge for ten minutes and start again. Warm dough never holds a shape.
Cooling temperature
Leave biscuits on the tray for three to five minutes, until they are firm enough to lift without bending, then move them to a wire rack. Wait until they are completely cool before icing or stacking them in a tin. Trapped steam is what turns a crisp biscuit soft overnight.
The difference between a good biscuit and a very good one is usually two minutes of attention and ten degrees of oven temperature.
Timing: Read the Bake, Not Just the Clock
- Set the timer for the low end of the recipe's range. You can always add time; you cannot take it back.
- Look for the visual cue: edges set and just barely golden, centres matte rather than wet, tops dry to the touch.
- Rotate the tray front to back at roughly the two-thirds mark.
- Lift one biscuit with a spatula and check the underside. A pale bottom means it needs another minute or two.
- Write the actual bake time on the recipe. Your oven has its own timing, and after three batches you will know it.
- Taste one before baking the second tray. Too thin, too spread, too pale? Adjust now, while the dough is still in the bowl.
The Printable Checklist
Before: recipe read twice · oven rack centred · preheat started 20 minutes ahead · thermometer reading target · sheets lined · second sheet ready · butter at the right temperature · leaveners tested · scale zeroed with the bowl on it.
During: mix only until the flour disappears · chill cut-out dough · cut, roll or scoop to even sizes · space about 5 cm apart · timer set to the low end · rotate at two-thirds.
After: rest 5 minutes on the tray · cool fully on a rack · note the real bake time on the recipe · store airtight only once cold.
Make the Checklist Your Own
Tape it inside a cupboard door and keep a pencil nearby. The printed numbers are a starting point, not a verdict — your oven, your flour and your kitchen's humidity all get a vote. Change one thing at a time, write down what you changed, and within a few batches you will have a set of notes that bakes better than any generic recipe. That is the whole point of a checklist: not to make baking rigid, but to make it repeatable.
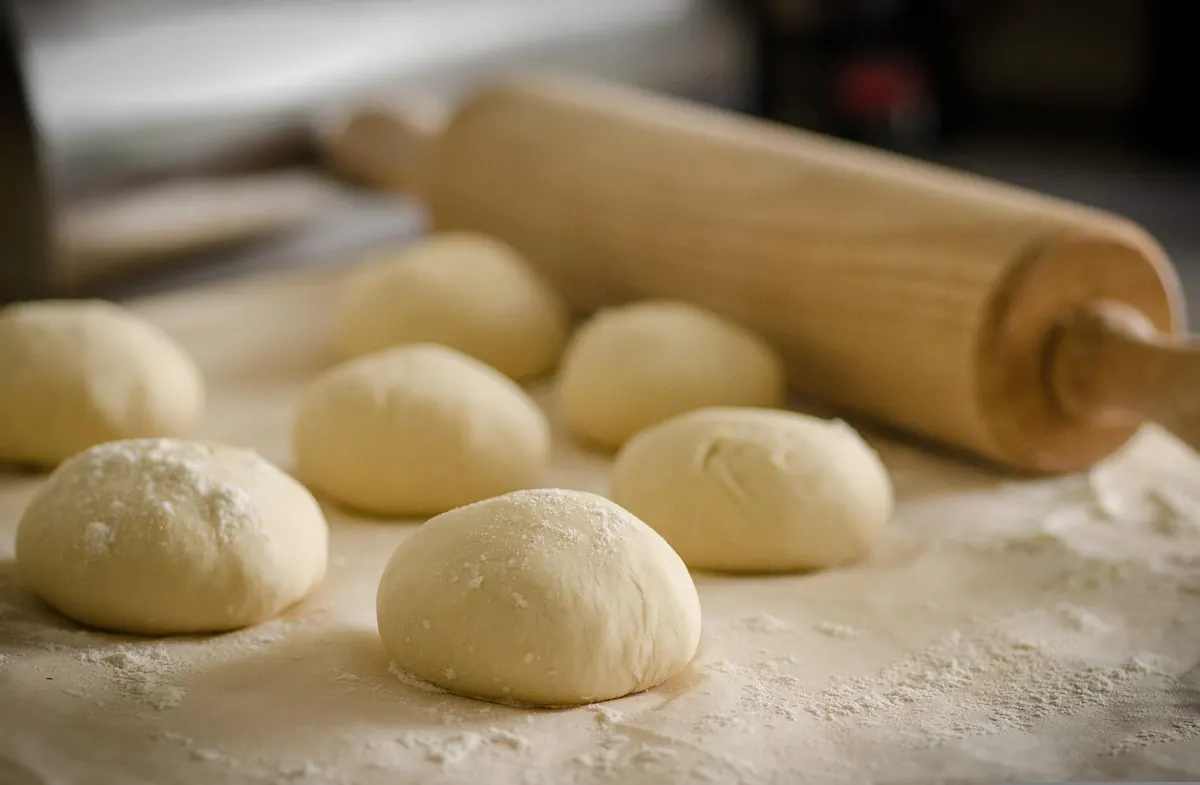
Photo: ClickerHappy / Pixabay